Blogging is an interesting thing, especially the one I do. My focus is on seasonal ingredients and in particular what you find at the market. So I can't think too far ahead, because I need to be in step with what you can find too. Every now and then I think I have a great plan, but down to the wire I sometimes change things up. So what does that mean? Well, I had all good intentions of talking tomatoes this week - but when I hit the Larchmont Farmers Market on Saturday I was taken away by the wide variety of eggplants. So many shapes, sizes and colors. From tiny teardrops to the large plump white variety. All beautiful and amazing that I just had to grab a bunch and do something over the weekend!

As far back as I can remember I've eaten eggplant, in a variety of ways. Being of Greek heritage it's an ingredient that showed up a lot in my family's cooking. I remember my Mother stuffing them with an herby rice mixture along with tomatoes and peppers. My Grandmother would fry them and top with Tzaziki (yogurt garlic sauce) or Skordalia (garlic potato spread). Crispy on the outside and soft on the inside, they are comfort food for me.

Google the word and hundreds of recipes will appear. Some sort of cooking must take place with this vegetable, either baking, sautéing or frying. Eaten raw they are bitter and not good eats. Eggplant can be used as part of a main course, side dish or even as an appetizer. I even came across a very easy recipe for a bruschetta recipe on the Wine Spectator website that can be created quickly.

In my eggplant research I came to find out that it was first cultivated in India. (So much for thinking it was native to the Mediterranean!) Nutritionally it has zero fat and is low in calories and carbs. It mainly consists of Vitamin A, along with B Vitamins, C, Folate and a bunch of great minerals. Just a quick note on the fat content: in order to keep that as low as possible you will want to think about how this great veggie is prepared. The ever popular Eggplant Parmesan is typically breaded and fried before it get's layered with cheese and sauce. One way to reduce the fat is to grill or bake the slices. I toyed with the idea of doing an Eggplant Parm recipe for you, but that just seemed a little too easy. You can find any number of recipes to fill that need. Working a little "on the fly" I came up with three ideas over the weekend, for today.

While I was at the Larchmont market on Saturday not only did I find piles of eggplant, but squash, beans, tomatoes and potatoes. Immediately a summer stew came to mind. There is a traditional dish called "Tourlou Tourlou" that comes from Greece and Turkey. The exact translation means "mixed up." There are many versions of this stew, each as different as the cook that prepares it. My mother for example does hers with just onion, okra, beans and zucchini. I'm going to give you my basic outline, but I encourage you to create your own. Quantity and variety all depend on what you like, but I will say the more variety the better the stew.
Admittedly I went a little crazy with my ingredients ... I just could not help myself! Everything looked so amazing that I just had to buy them all! First things first, you need to sauté the onions and garlic until soft then add the eggplant and squash.


While they are cooking clean your okra pods. Here is an interesting tip: my Mother swears by this - after cleaning the top off the pod soak it in lemon water for a few minutes. She claims this reduces the slime quotient. I searched everywhere for some justification on this and found virtually nothing. I'm going to chalk that up to an "old wives tale." (Unless someone out there can tell me different.) I will say that in the final analysis they were not slimy - but I'm wondering if that is because I left these little tykes whole?


Add your fresh tomatoes and a bit of water and let them cook down to a nice sauce. Add the potatoes and okra and cook until they are fork tender. The very last thing you will add are the beans, as they don't take long.

After a nice low simmer you have a lovely Summer Stew. Perfect with a crusty slice of bread.


For an easy pasta dish I took equal amounts of grilled eggplant and zucchini along with chopped tomatoes to create a simple sauce. Here's what to do: sauté 2 cloves of garlic and add 2 cups of finely chopped tomatoes, in a small pot. Cook for about 3 minutes. Add 2 cups of chopped grilled eggplant (about 1 medium size), and 2 cups of chopped grilled zucchini (about 2 medium).


Mix them together. While you are doing the quick sauce cook 1 pound of pasta according to the package instructions to al dente. Drain the pasta reserving 1 cup of the liquid. After mixing it all together top with about 1/2 cup of grated parmesan cheese, using the pasta water to bring it all together. Garnish with some chopped parsley or basil and you have a great dish for lunch or dinner.

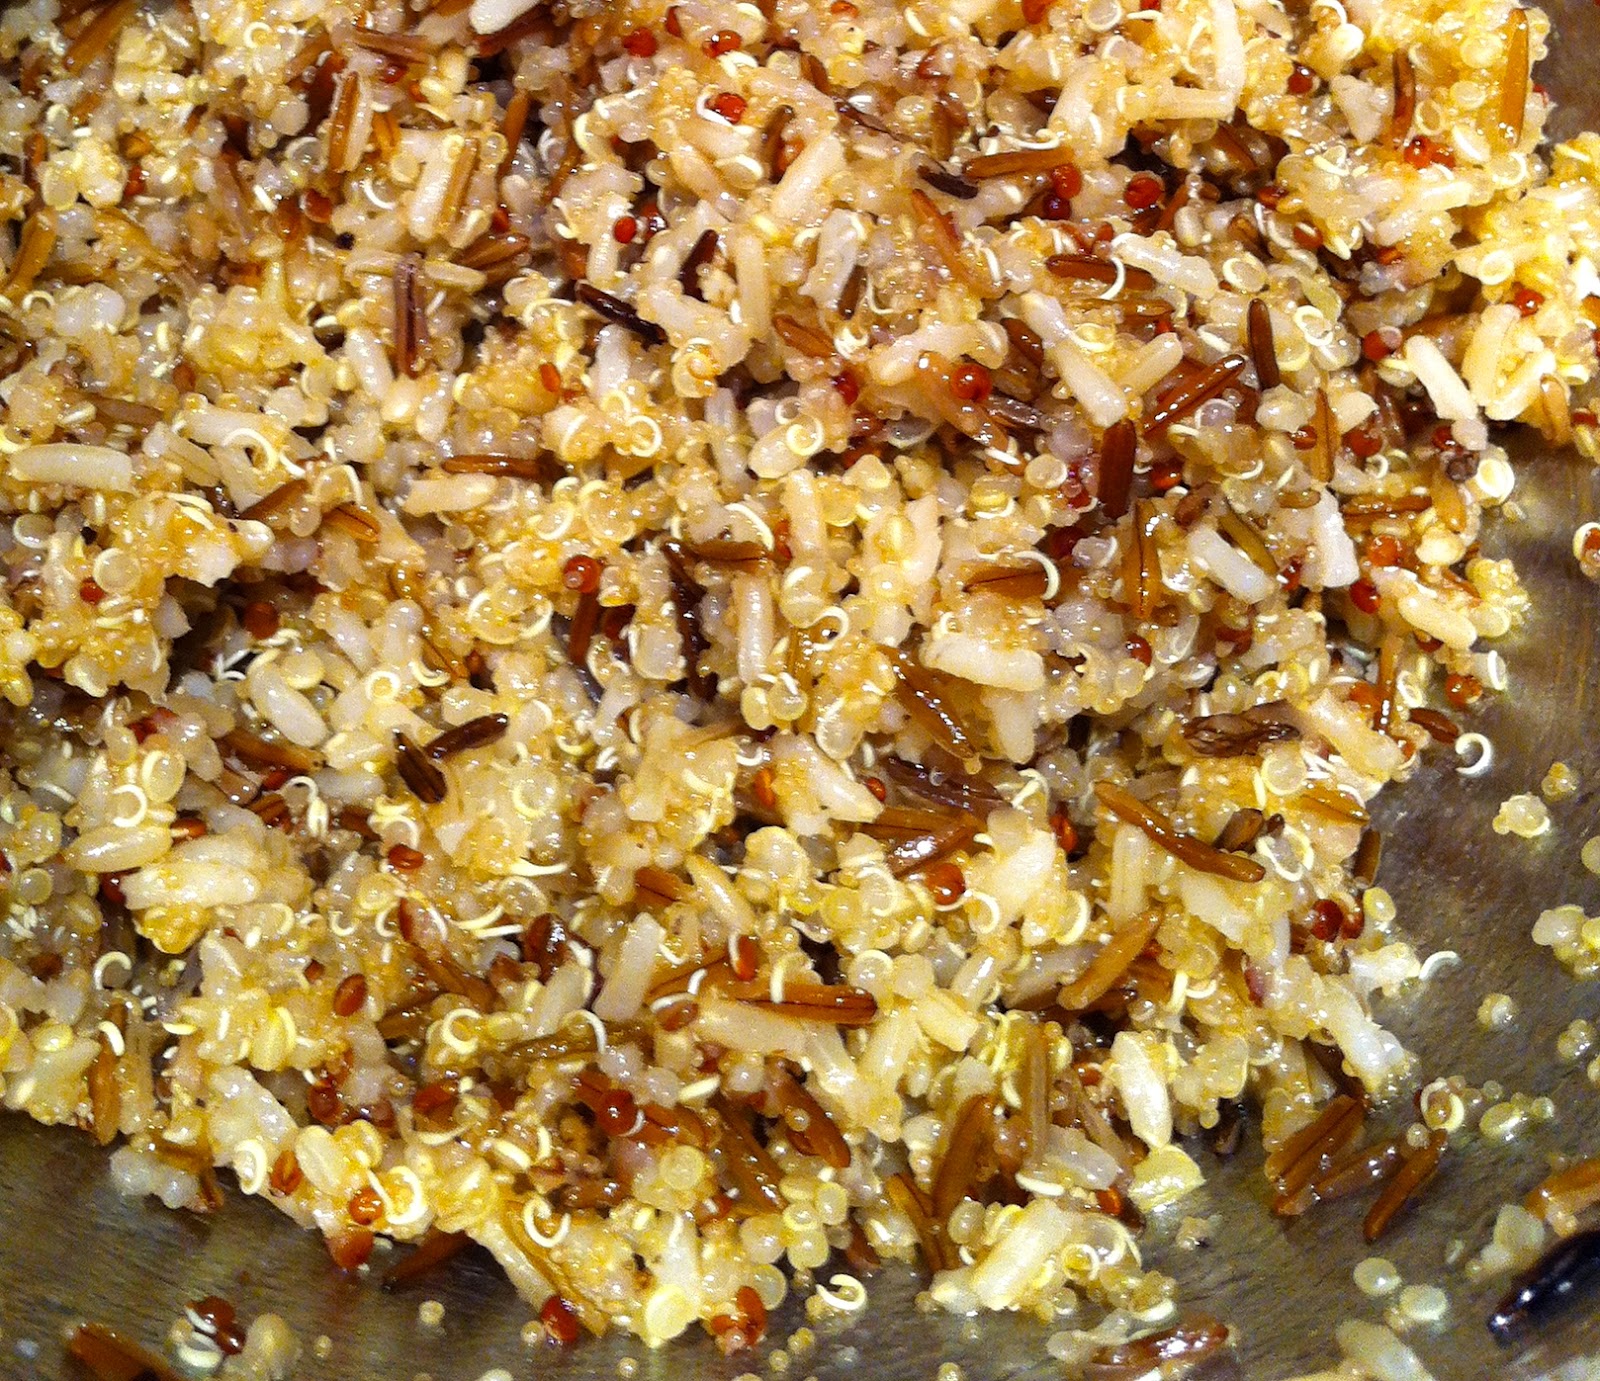
My last idea is a simple, but elegant rollatini. I sliced the eggplant about 1/2 inch thick and seasoned with a brush of olive oil, salt and pepper. After a quick grill I filled them with a really tasty mixed grain I found recently at the grocery store (in the rice aisle) called Heritage Grain Blend. It cooks in 20 minutes and is a combo of quinoa, amaranth and brown rice. While the grains were cooking I sautéed half an onion and and one 15 oz can of petite diced tomatoes.


Once the grains were done I tossed with the onion-tomato mixture and added some chopped parsley, checked for seasoning, then filled the eggplant slices. I topped with a little sprinkle of Asiago - but that's totally optional. Broil for a few minutes to warm the rollatini and melt the cheese.

I hope this inspires you to get a few eggplants and cook up something special this weekend. On another quick note: if you are interested in brushing up on your cooking skills I have some great new classes coming up in September. Check the Tarry Market website for details.
Buon Appetito!


In my eggplant research I came to find out that it was first cultivated in India. (So much for thinking it was native to the Mediterranean!) Nutritionally it has zero fat and is low in calories and carbs. It mainly consists of Vitamin A, along with B Vitamins, C, Folate and a bunch of great minerals. Just a quick note on the fat content: in order to keep that as low as possible you will want to think about how this great veggie is prepared. The ever popular Eggplant Parmesan is typically breaded and fried before it get's layered with cheese and sauce. One way to reduce the fat is to grill or bake the slices. I toyed with the idea of doing an Eggplant Parm recipe for you, but that just seemed a little too easy. You can find any number of recipes to fill that need. Working a little "on the fly" I came up with three ideas over the weekend, for today.

Admittedly I went a little crazy with my ingredients ... I just could not help myself! Everything looked so amazing that I just had to buy them all! First things first, you need to sauté the onions and garlic until soft then add the eggplant and squash.


While they are cooking clean your okra pods. Here is an interesting tip: my Mother swears by this - after cleaning the top off the pod soak it in lemon water for a few minutes. She claims this reduces the slime quotient. I searched everywhere for some justification on this and found virtually nothing. I'm going to chalk that up to an "old wives tale." (Unless someone out there can tell me different.) I will say that in the final analysis they were not slimy - but I'm wondering if that is because I left these little tykes whole?


Add your fresh tomatoes and a bit of water and let them cook down to a nice sauce. Add the potatoes and okra and cook until they are fork tender. The very last thing you will add are the beans, as they don't take long.

After a nice low simmer you have a lovely Summer Stew. Perfect with a crusty slice of bread.


For an easy pasta dish I took equal amounts of grilled eggplant and zucchini along with chopped tomatoes to create a simple sauce. Here's what to do: sauté 2 cloves of garlic and add 2 cups of finely chopped tomatoes, in a small pot. Cook for about 3 minutes. Add 2 cups of chopped grilled eggplant (about 1 medium size), and 2 cups of chopped grilled zucchini (about 2 medium).


Mix them together. While you are doing the quick sauce cook 1 pound of pasta according to the package instructions to al dente. Drain the pasta reserving 1 cup of the liquid. After mixing it all together top with about 1/2 cup of grated parmesan cheese, using the pasta water to bring it all together. Garnish with some chopped parsley or basil and you have a great dish for lunch or dinner.

My last idea is a simple, but elegant rollatini. I sliced the eggplant about 1/2 inch thick and seasoned with a brush of olive oil, salt and pepper. After a quick grill I filled them with a really tasty mixed grain I found recently at the grocery store (in the rice aisle) called Heritage Grain Blend. It cooks in 20 minutes and is a combo of quinoa, amaranth and brown rice. While the grains were cooking I sautéed half an onion and and one 15 oz can of petite diced tomatoes.


Once the grains were done I tossed with the onion-tomato mixture and added some chopped parsley, checked for seasoning, then filled the eggplant slices. I topped with a little sprinkle of Asiago - but that's totally optional. Broil for a few minutes to warm the rollatini and melt the cheese.

Not only is this a beautiful dish, but it's incredibly tasty and healthy too!
I hope this inspires you to get a few eggplants and cook up something special this weekend. On another quick note: if you are interested in brushing up on your cooking skills I have some great new classes coming up in September. Check the Tarry Market website for details.
Buon Appetito!
Chef Maria's Summer Vegetable Stew
Serves 4-6
Serves 4-6
1 cup red onion, ¼” dice
2 cloves garlic, minced
1 cup eggplant, 2 small Japanese, 1” slice
1 cup summer squash or zucchini, 1” slice
3-4 cups of fresh tomatoes, chopped
1 bay leaf
1 cup okra, whole if tiny, or 1” slice
1 cup wax beans, 2” pieces
1 cup green beans, 2” pieces
¼ cup fresh basil, roughly chopped
¼ cup fresh parsley, roughly chopped
Kosher salt
freshly grated black pepper
extra virgin olive oil
2 cloves garlic, minced
1 cup eggplant, 2 small Japanese, 1” slice
1 cup summer squash or zucchini, 1” slice
3-4 cups of fresh tomatoes, chopped
1 bay leaf
1 cup okra, whole if tiny, or 1” slice
½ lemon
1 cup new potatoes, quartered1 cup wax beans, 2” pieces
1 cup green beans, 2” pieces
¼ cup fresh basil, roughly chopped
¼ cup fresh parsley, roughly chopped
Kosher salt
freshly grated black pepper
extra virgin olive oil
Over medium heat add 2 tablespoons of extra virgin olive oil to a small pot and sauté the onion and garlic with ¼ teaspoon each of salt and pepper. Cook for 2-3 minutes or until soft. Add the eggplant and squash, with another sprinkle of salt and pepper and continue to cook until the vegetables take on a light brown color, about 5 minutes. Meanwhile prep your okra by cleaning the top and soaking in a small bowl with cool water and the juice of ½ lemon. If the okra are larger than 2” slice them to 1” pieces and set aside.
Once the eggplant and squash become golden in color add the tomatoes, another pinch of salt and pepper and 1 cup of water. Lower the heat and cook for about 10 minutes until the tomatoes break down. Stirring occasionally.
Add the okra, ½ lemon, potatoes, and bay leaf. You may need to add a little more water if the veggies are not submerged. Season with a pinch of salt and pepper and cook until the potatoes are fork tender, about 10 minutes. Add the beans and cook for another 5 minutes. Check your seasoning and add salt and pepper to taste.
When your stew is nice and thick remove the lemon and bay leaf and stir in the fresh herbs. Serve with a slice (or two) of a nice crusty bread to soak up all the great juice!
Cook's Note: Variety of vegetables is completely up to you. Use my list above as a guideline, just keep in mind that you want the size of your cuts to be similar so they cook at the same rate, and the quantities close to what I note for the final dish. Let yourself creative!
(Recipe created by Maria Reina of Bella Cucina Maria)


